Getting Started
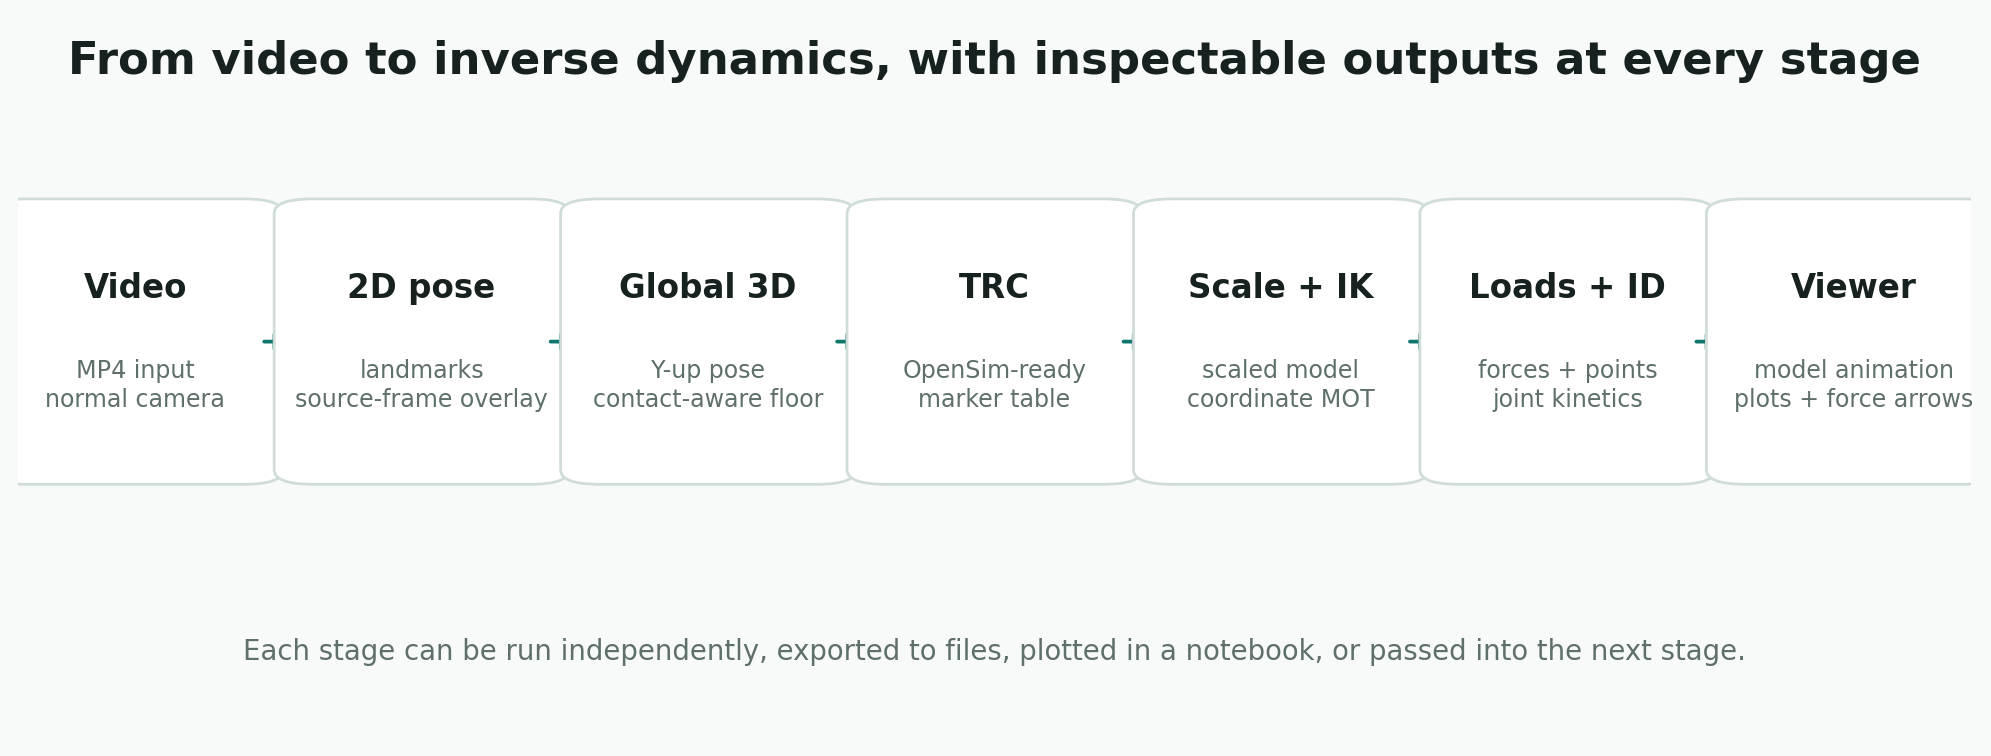
This guide takes you from a fresh environment to useful files. Run the sections in order the first time, then jump to the stage pages when you need deeper control.
1. Create An Environment
Use Python 3.10, 3.11, or 3.12.
2. Install The Right Extra
| Need | Command |
|---|---|
| Import package, read/write TRC, use utilities | python -m pip install monomech |
| Estimate pose from video | python -m pip install "monomech[pose]" |
| Run OpenSim from Python | python -m pip install "monomech[opensim]" |
| Use notebooks and plots | python -m pip install "monomech[notebook]" |
| Install all optional features | python -m pip install "monomech[all]" |
3. Verify The Install
If this imports successfully, the base package is working.
Why extras are separate
Video and OpenSim dependencies can include native packages. Keeping them optional makes import monomech reliable on more computers.
4. Organize Files
Keep raw data and generated outputs separate:
Use one output folder per trial. It makes OpenSim setup XML, logs, TRC files, MOT files, and STO outputs much easier to compare.
Video-First Workflow
Use this path when your starting point is a single-camera video.
from pathlib import Path
import monomech as mm
video_path = Path("data/subject01.mp4")
output_dir = Path("outputs/subject01")
output_dir.mkdir(parents=True, exist_ok=True)
pose = mm.estimate_pose(video_path, root_centered=False, floored=True)
pose = mm.smooth(pose, cutoff_hz=6.0)
pose = mm.gap_fill(pose, max_gap_frames=12)
display(pose.summary().head())
print(pose.metadata["floor_method"], pose.metadata["floor_contact_frames"])
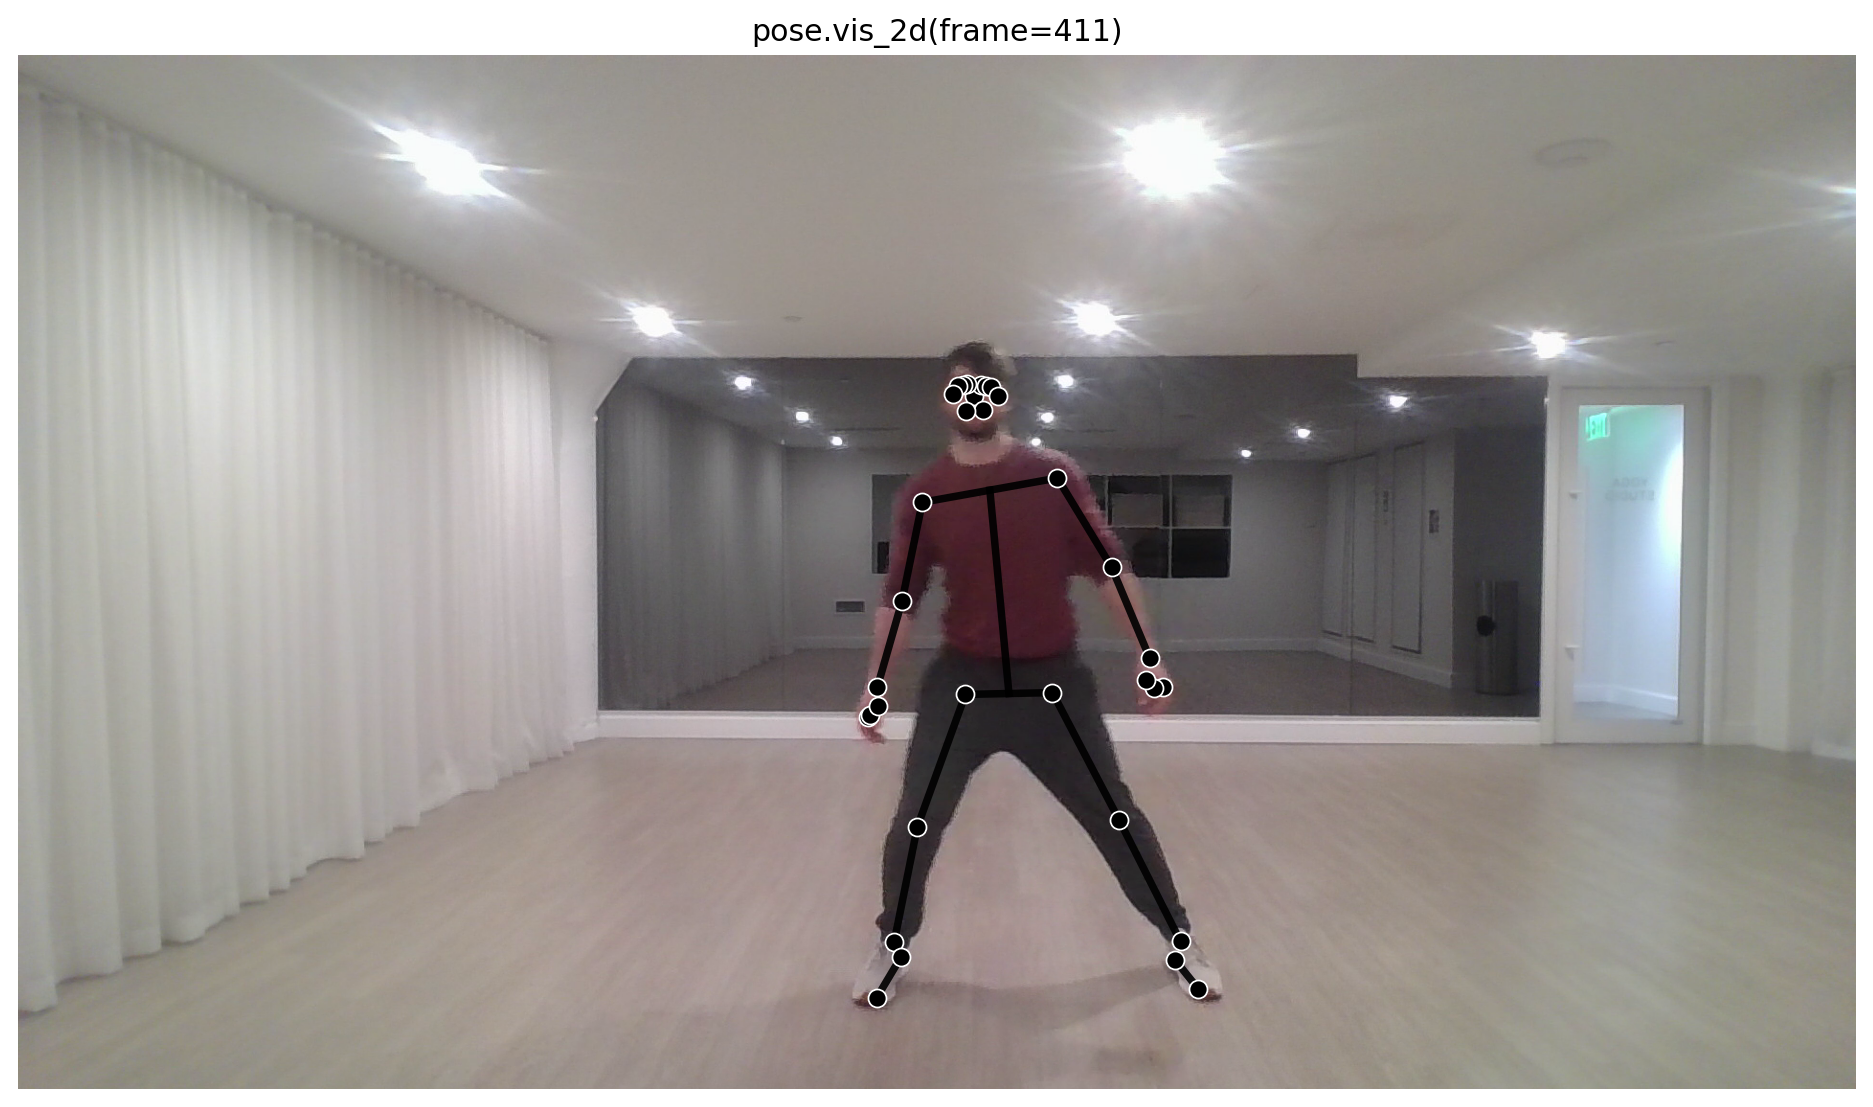
pose.vis_2d(frame=50) # overlays the 2D skeleton on the source frame when available
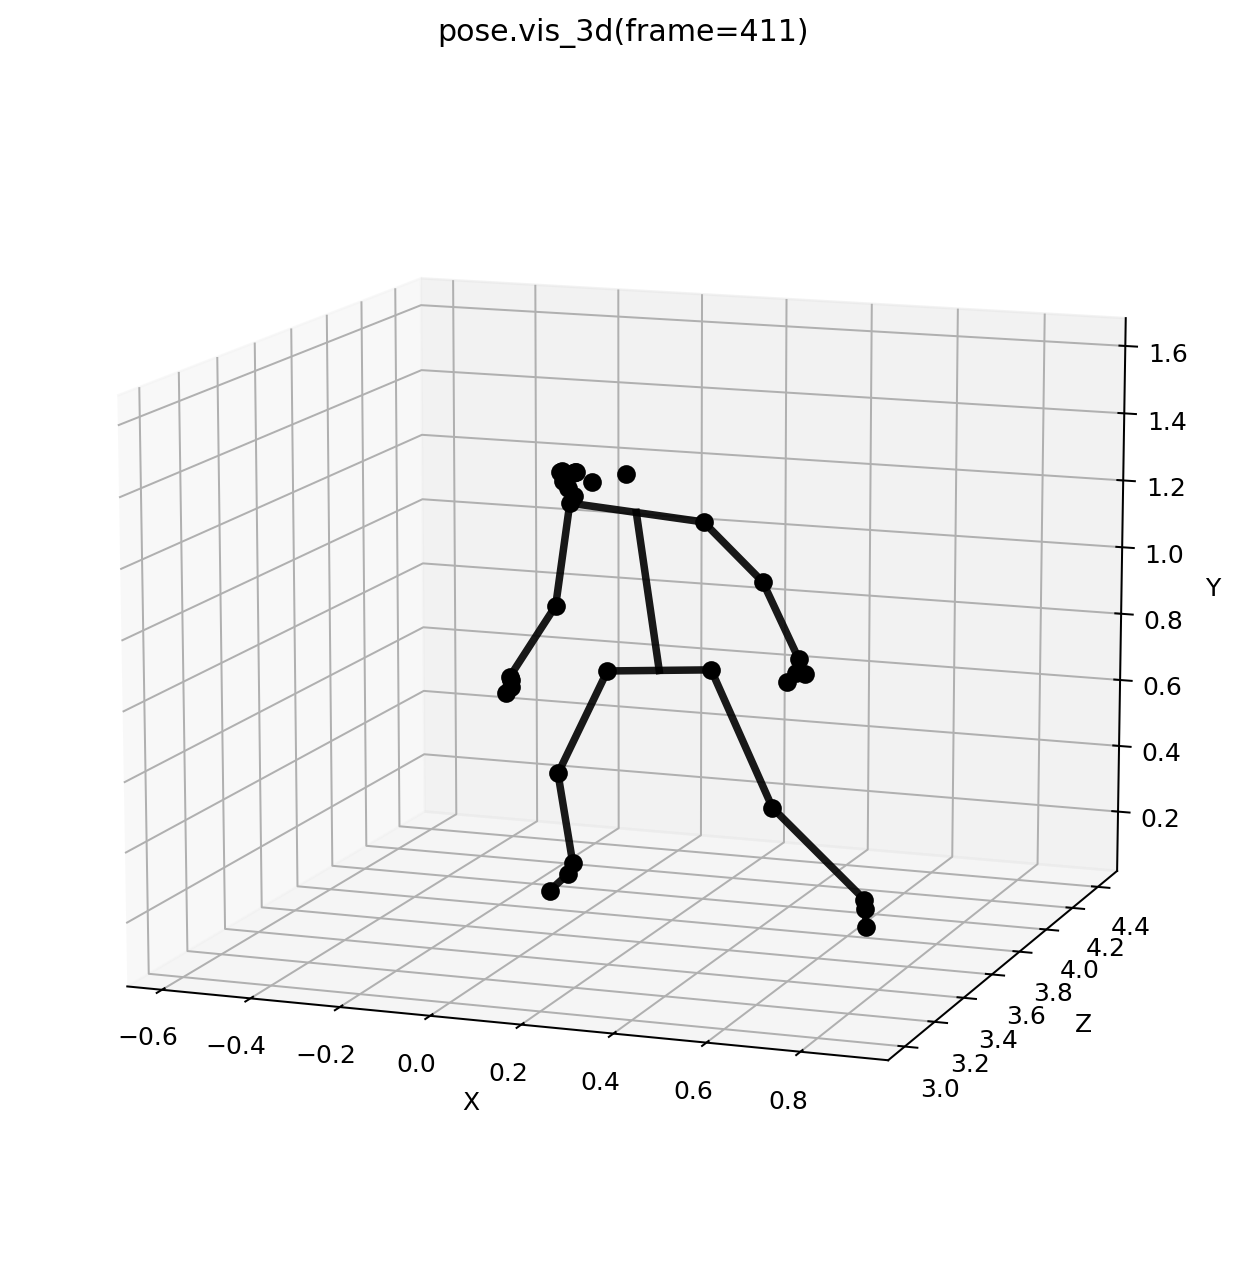
pose.vis_3d(frame=50)
With floored=True, monomech estimates a static floor from likely foot-contact samples. The result is Y-up and OpenSim-friendly, and the metadata tells you how many support frames were used.
Export the global pose:
pose.to_csv(output_dir / "subject01_global.csv")
trc_path = pose.to_trc(output_dir / "subject01_global.trc")
Marker-First Workflow
Use this path when you already have a TRC file.
from pathlib import Path
import monomech as mm
trc_path = Path("data/walk.trc")
output_dir = Path("outputs/walk")
output_dir.mkdir(parents=True, exist_ok=True)
markers = mm.gap_fill(trc_path, max_gap_frames=20)
markers = mm.smooth(markers, cutoff_hz=6.0)
display(markers.summary().head())
clean_trc = markers.to_trc(output_dir / "walk_clean.trc")
print(clean_trc)
OpenSim Workflow
OpenSim steps work after you have a TRC file and a compatible model.
import monomech as mm
scale = mm.run_scaling(
pose,
model="pose",
output_dir="outputs/subject01/scale",
)
ik = mm.run_ik(
scale,
output_dir="outputs/subject01/ik",
)
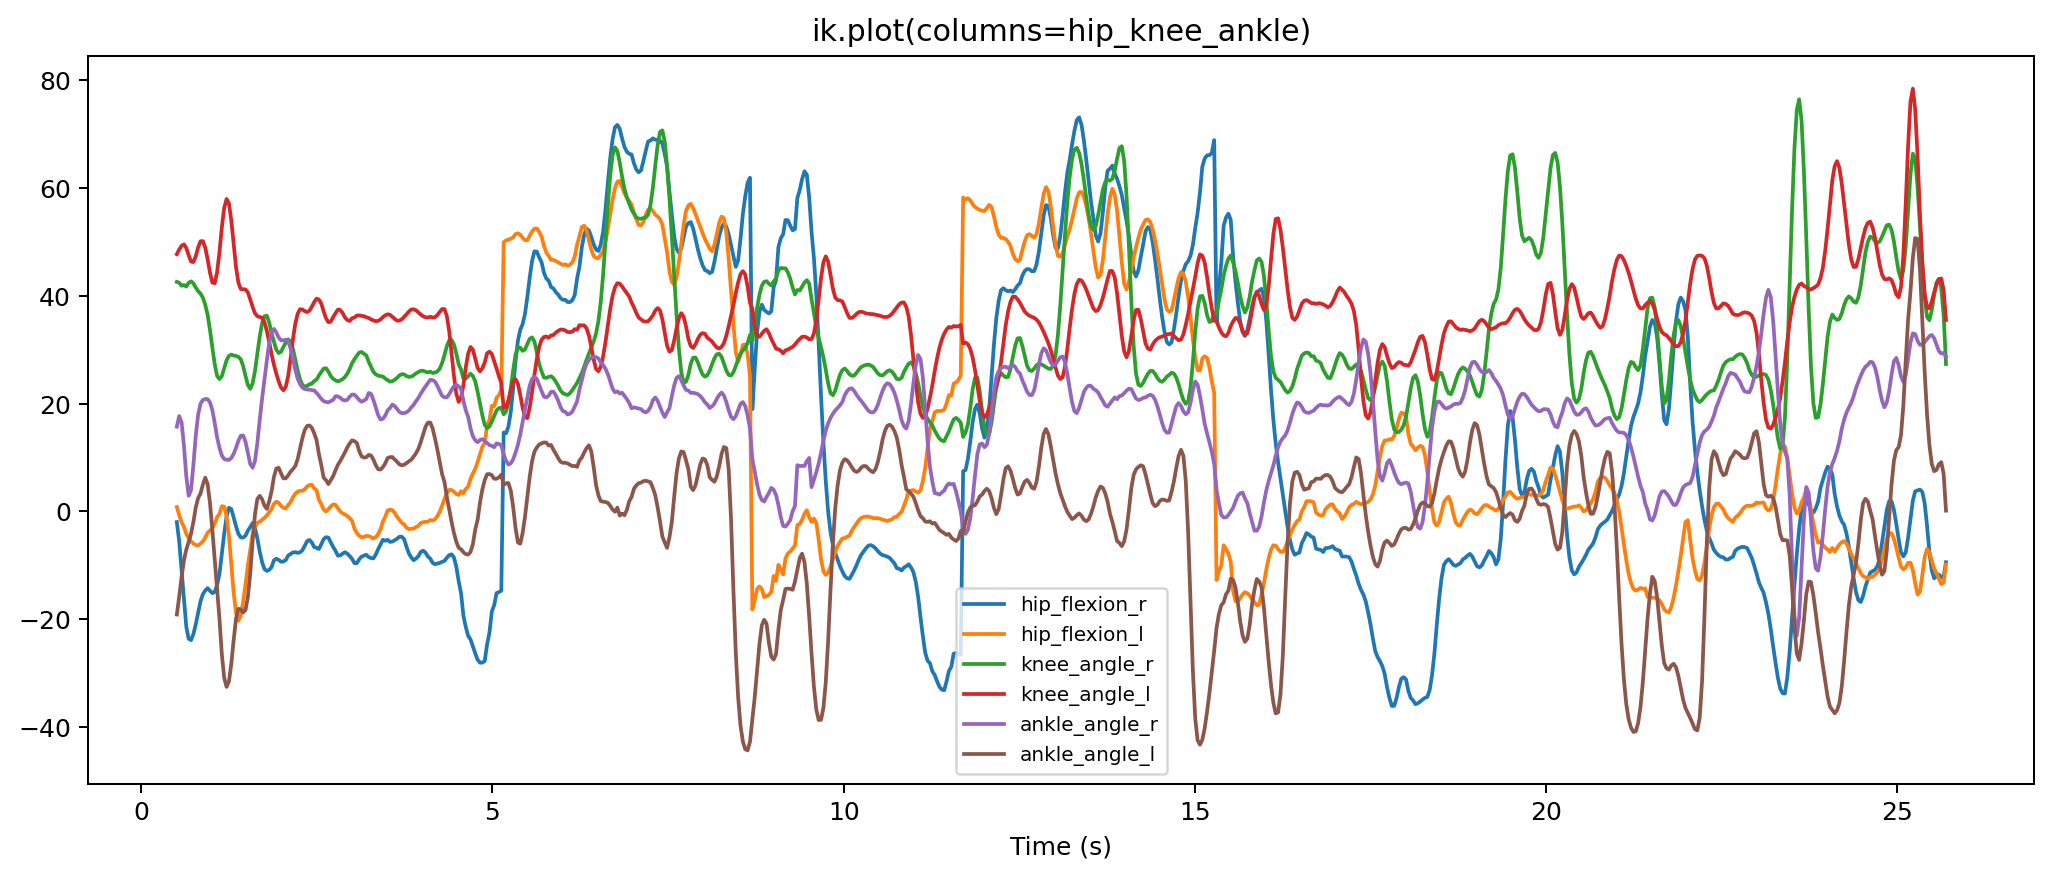
Review IK before inverse dynamics:
display(ik.to_dataframe().head())
print(ik.metadata["marker_error_summary"])
print(ik.metadata["preflight"])
Add external loads for inverse dynamics:
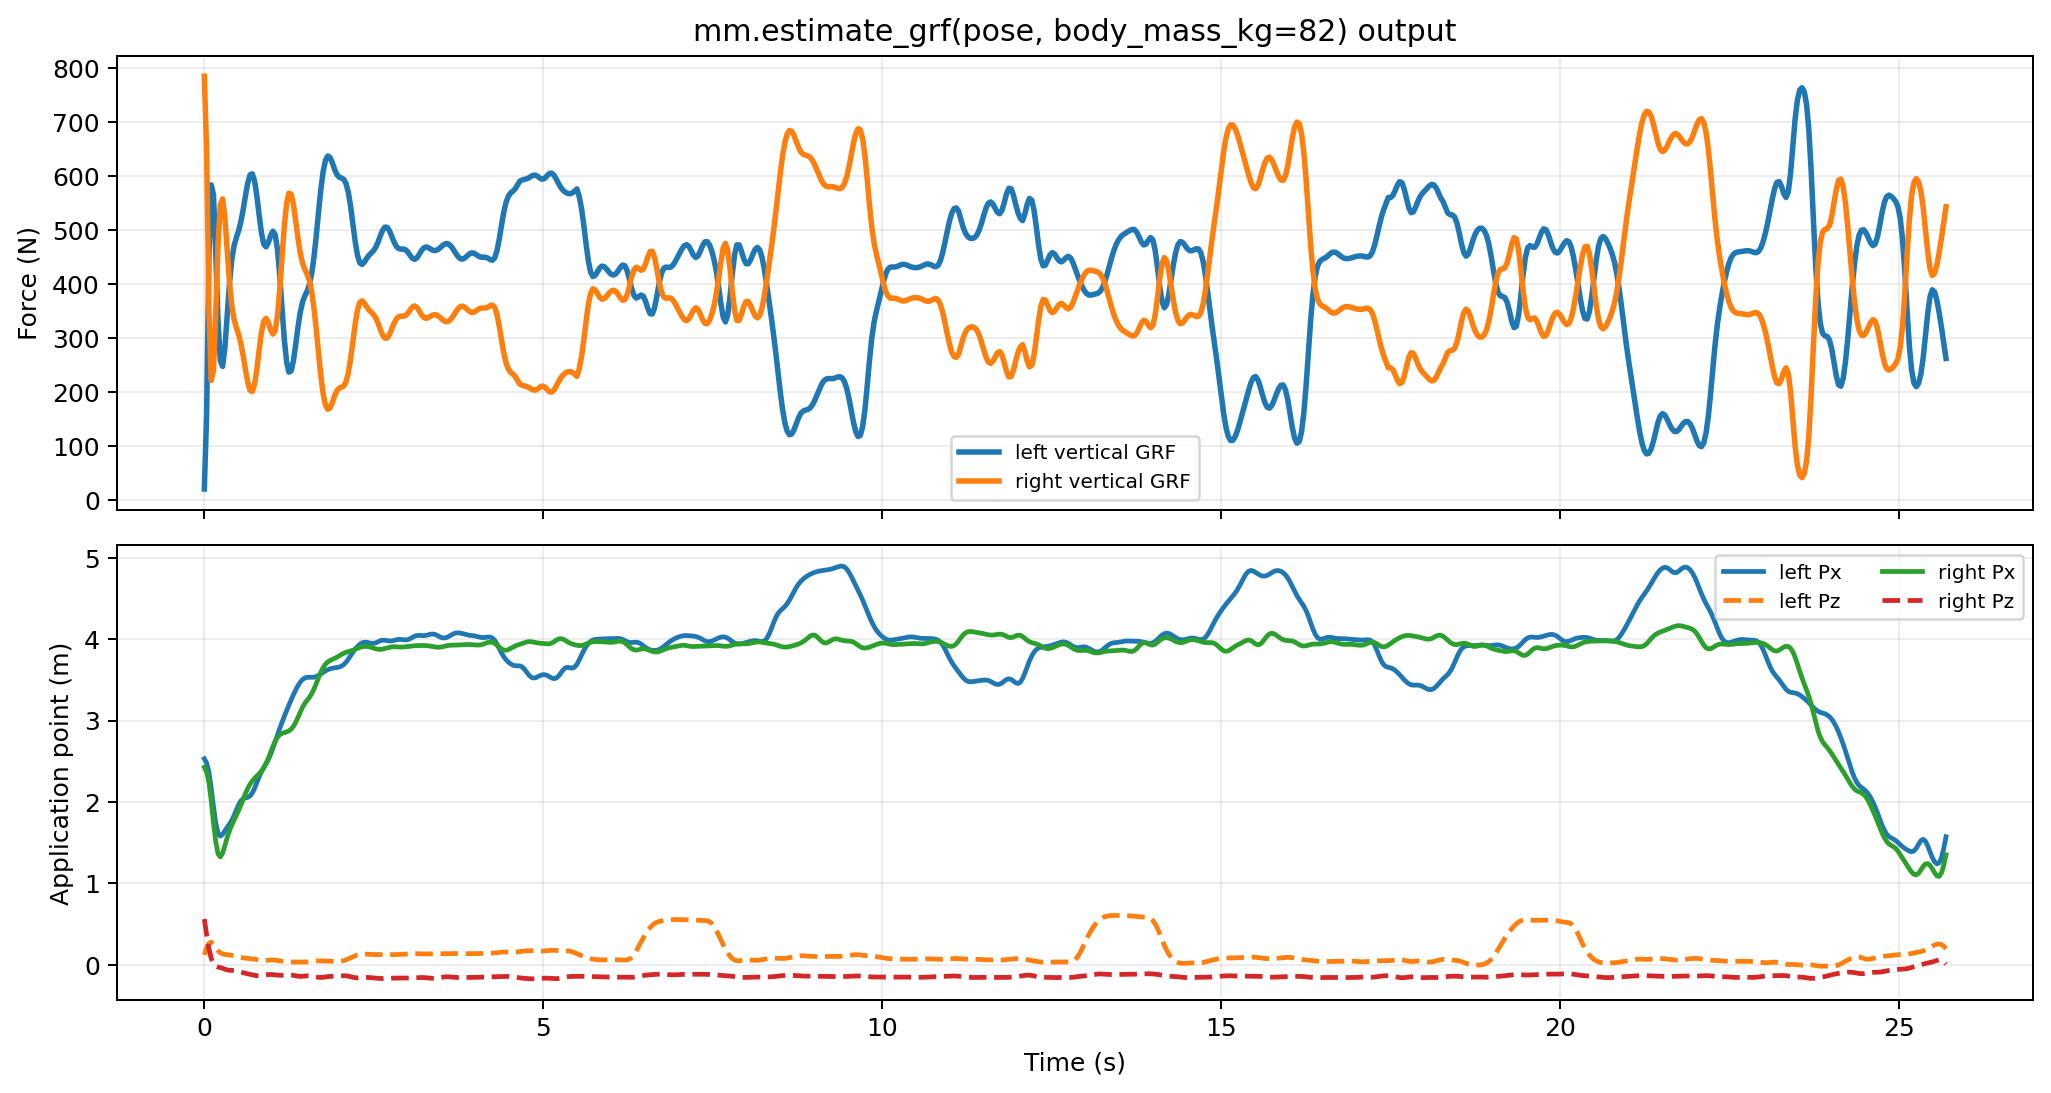
estimated_loads = mm.estimate_grf(pose, body_mass_kg=75.0)
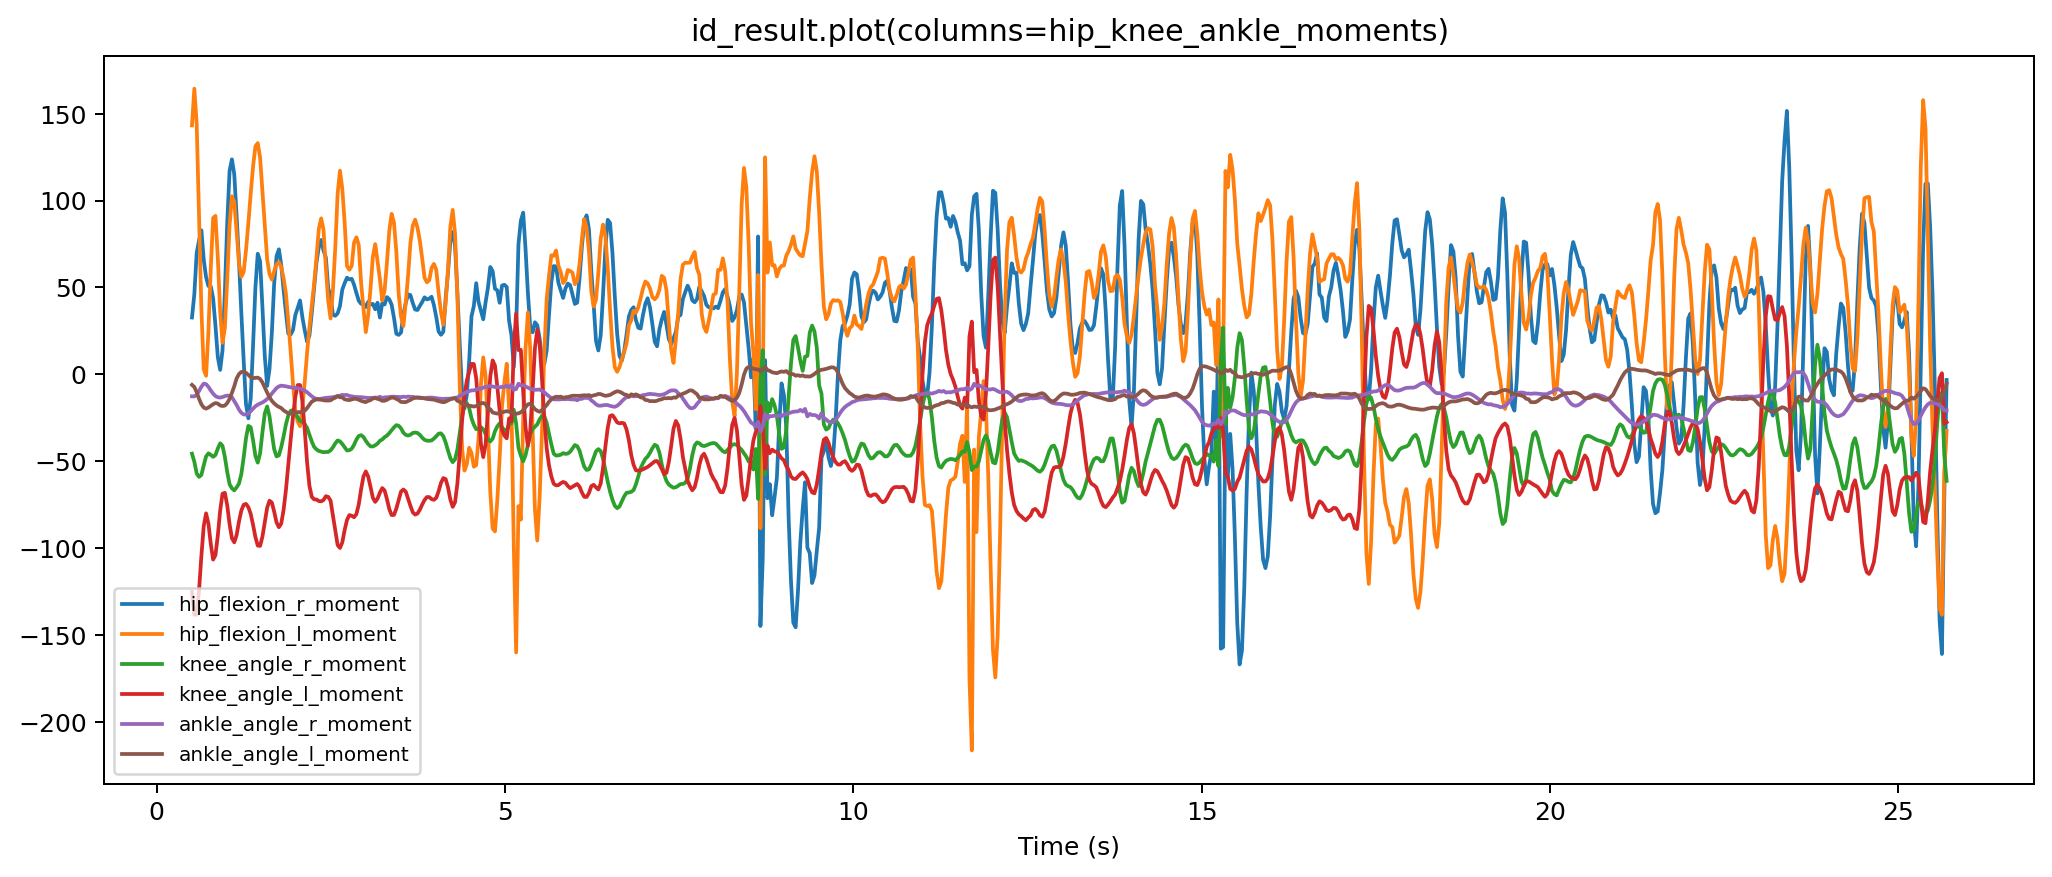
id_result = mm.run_id(
ik=ik,
external_forces=estimated_loads,
output_dir="outputs/subject01/id",
)
print(id_result.path)
Create the notebook visualizer:
viewer = mm.animate(
ik=ik,
id=id_result,
external_loads_path=id_result.metadata["external_loads_mot_path"],
output_dir="outputs/subject01/visualizer",
mode="balanced",
)
viewer.show()
animate() writes a GLB next to the HTML and references it from the page. This keeps notebooks responsive. Use embed_glb=True only when you need one self-contained HTML file.
Estimated forces are for workflow testing
estimate_grf() is useful for examples and rough exploratory runs. Use measured force plates or another validated force source when kinetics need to be interpreted scientifically.
Built-In Models
import monomech as mm

print(mm.list_builtin_osim_models())
print(mm.get_builtin_osim_model("pose"))
print(mm.get_builtin_osim_model("mocap"))
Built-in model paths are regular local files, so they can be passed directly to OpenSim helpers.
What To Check Before OpenSim
Marker names
Confirm exported marker names match the model marker names or provide a marker map.
Units and axes
Inspect TRC values before scaling. A unit or axis mismatch can make IK technically run but biomechanically meaningless.
Missing data
Read the preflight reports and check any all-missing marker channels before trusting the results.
Time range
Use stable time windows for scaling and make sure force data covers the IK interval.
Troubleshooting
| Symptom | Likely fix |
|---|---|
import monomech fails after a base install |
Upgrade to monomech>=0.15.1; optional native dependencies should not be required for import. |
| Video pose methods complain about missing packages | Install python -m pip install "monomech[pose]". |
| OpenSim cannot import | Use a conda OpenSim install or install python -m pip install "monomech[opensim]". |
| IK fails on NaNs | Keep OpenSimIKConfig(sanitize_marker_data=True) or clean the TRC before running IK. |
| ID fails on coordinate NaNs | Keep OpenSimIDConfig(sanitize_coordinates=True) or clean the IK MOT before running ID. |
| ID runs but forces look wrong | Check force signs, units, centers of pressure, applied_to_body, and time alignment. |
| TRC export looks misaligned | Check marker names, axis mapping, units, and model compatibility before running IK. |