2D Pose
The usual entry point is mm.estimate_pose(). It estimates image-space 2D landmarks, keeps that result in the returned pose metadata, and uses it to build the global 3D pose.
import monomech as mm

pose = mm.estimate_pose(
    "data/subject01.mp4",
    root_centered=False,
    floored=True,
    sample_fps=30,
)
Source-Image Preview
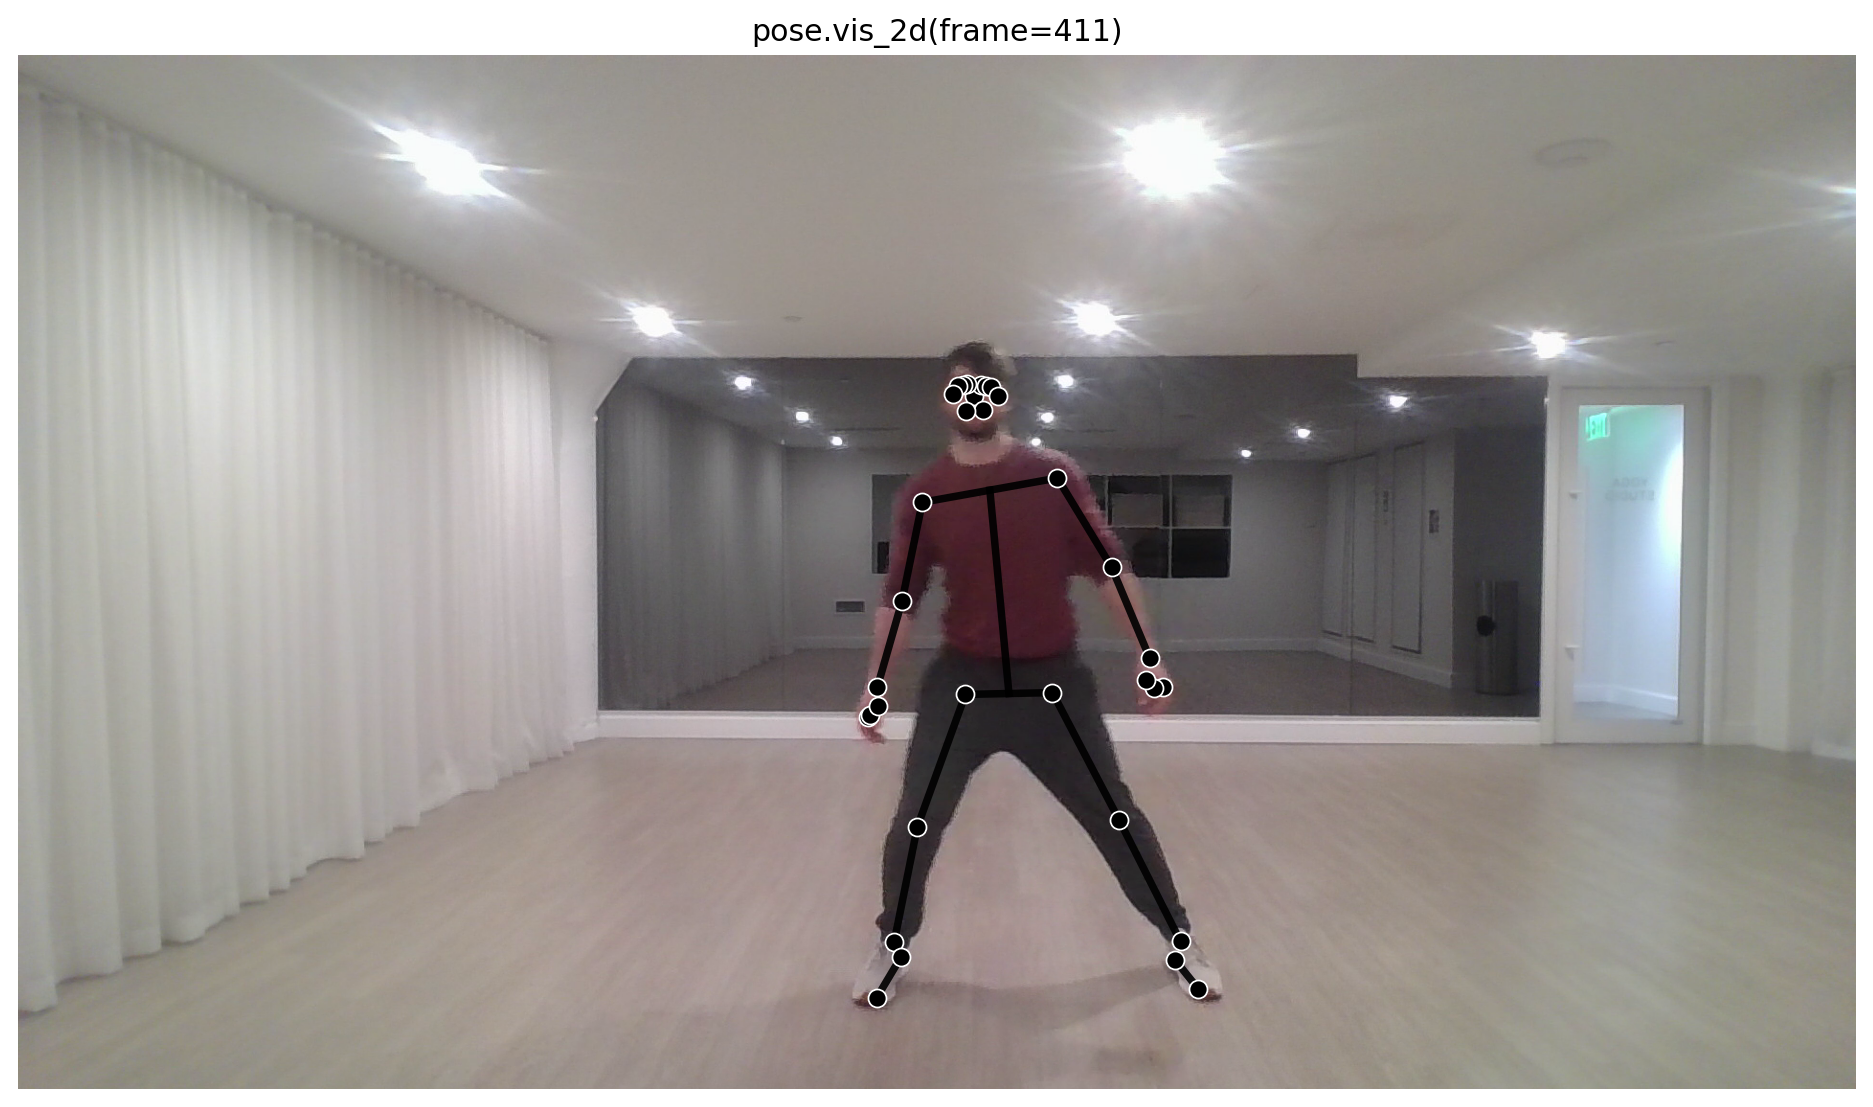
pose.vis_2d() automatically uses the stored 2D pose and overlays the skeleton on the source video frame when the video path is available.
The plot uses black landmarks and black segment lines, including a mid-hip to mid-shoulder trunk connection. The image coordinate system is preserved, so the preview matches the video frame instead of flipping vertically.
If you want to draw on a specific image array:
Pass image=False to draw only the skeleton on a white background.
Cleaning
The 2D and 3D result objects use the same cleaning API:
Use Pose2DConfig only when you need repeatable low-level pose-estimation settings:
config = mm.Pose2DConfig(stride=2, sample_fps=15)
pose = mm.estimate_pose("data/subject01.mp4", pose2d_config=config)